Connect Whop to WooshPayment
Step-by-step visual guide to connect Whop to WooshPayment with API key, Product ID and webhook signing secret, then verify the payment path before traffic.
Connect Whop to WooshPayment — visual guide 2026
Whop is the processor WooshPayment uses to accept cards and eligible wallets on your branded checkout. Wallets appear only when your Whop account, checkout domain, browser and device support them. To make payments truly ready you need an API key, Product ID and webhook signing secret.
This is a guided setup, not a traffic-ready certification. Whop may request additional verification depending on your account, payout volume and risk review, and WooshPayment is ready for traffic only after a paid pilot order proves the webhook, store order, emails, pixel/CAPI and return page.
What you'll need at the end of this guide:
- API key
apik_xxx...generated on your Whop Company - Product ID
prod_xxx...from a one-time Whop product - Webhook signing secret
ws_xxx...from the Whop endpoint pointing to WooshPayment
Prerequisites
- A Business Whop account with at least one Company created (sign up at whop.com/signup)
- Administrator permissions on the Company (Owner is even better)
- A Whop Product of type One-time payment — see the full Whop setup if you need to create it
In WooshPayment, you just need to have completed the "Platform" step of onboarding (Shopify or WooCommerce connected).
1. Open the Whop Dashboard on the right Company
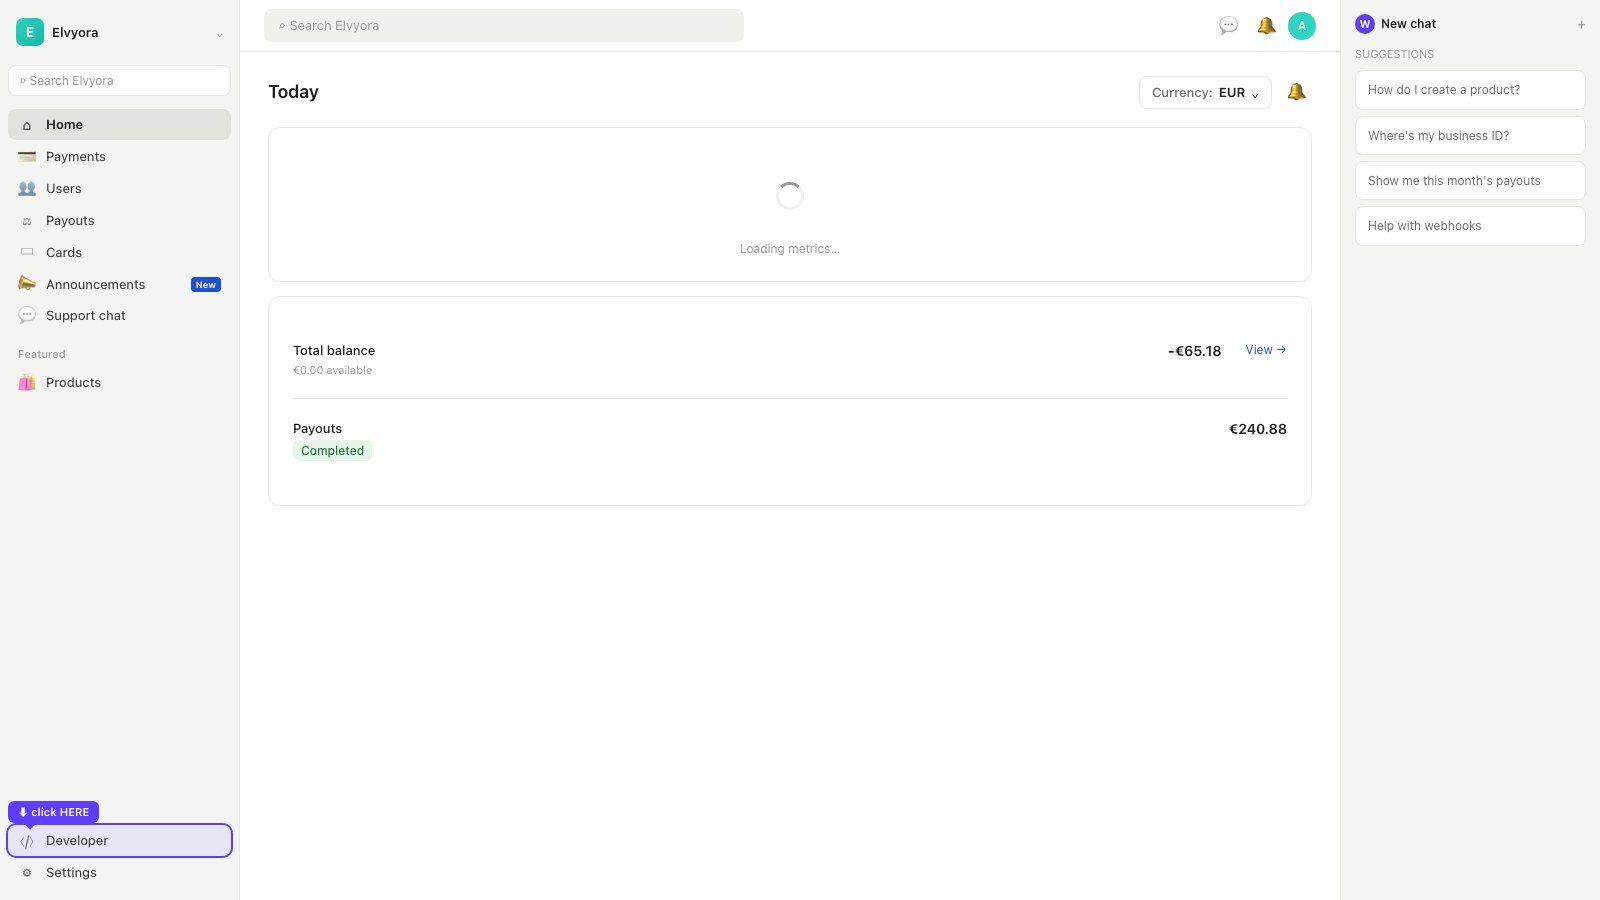
- Go to whop.com/dashboard
- Top-left, pick the right Company from the dropdown (e.g.
Elvyora) - You'll land on the Home dashboard
- In the bottom-left of the sidebar, click Developer (icon
</>)
Whop's sidebar is the same across all Companies. If you have multiple Companies, double-check you're on the right one — the API key you generate is scoped to the selected Company.
2. Open "Company API keys" and click "+ Create"
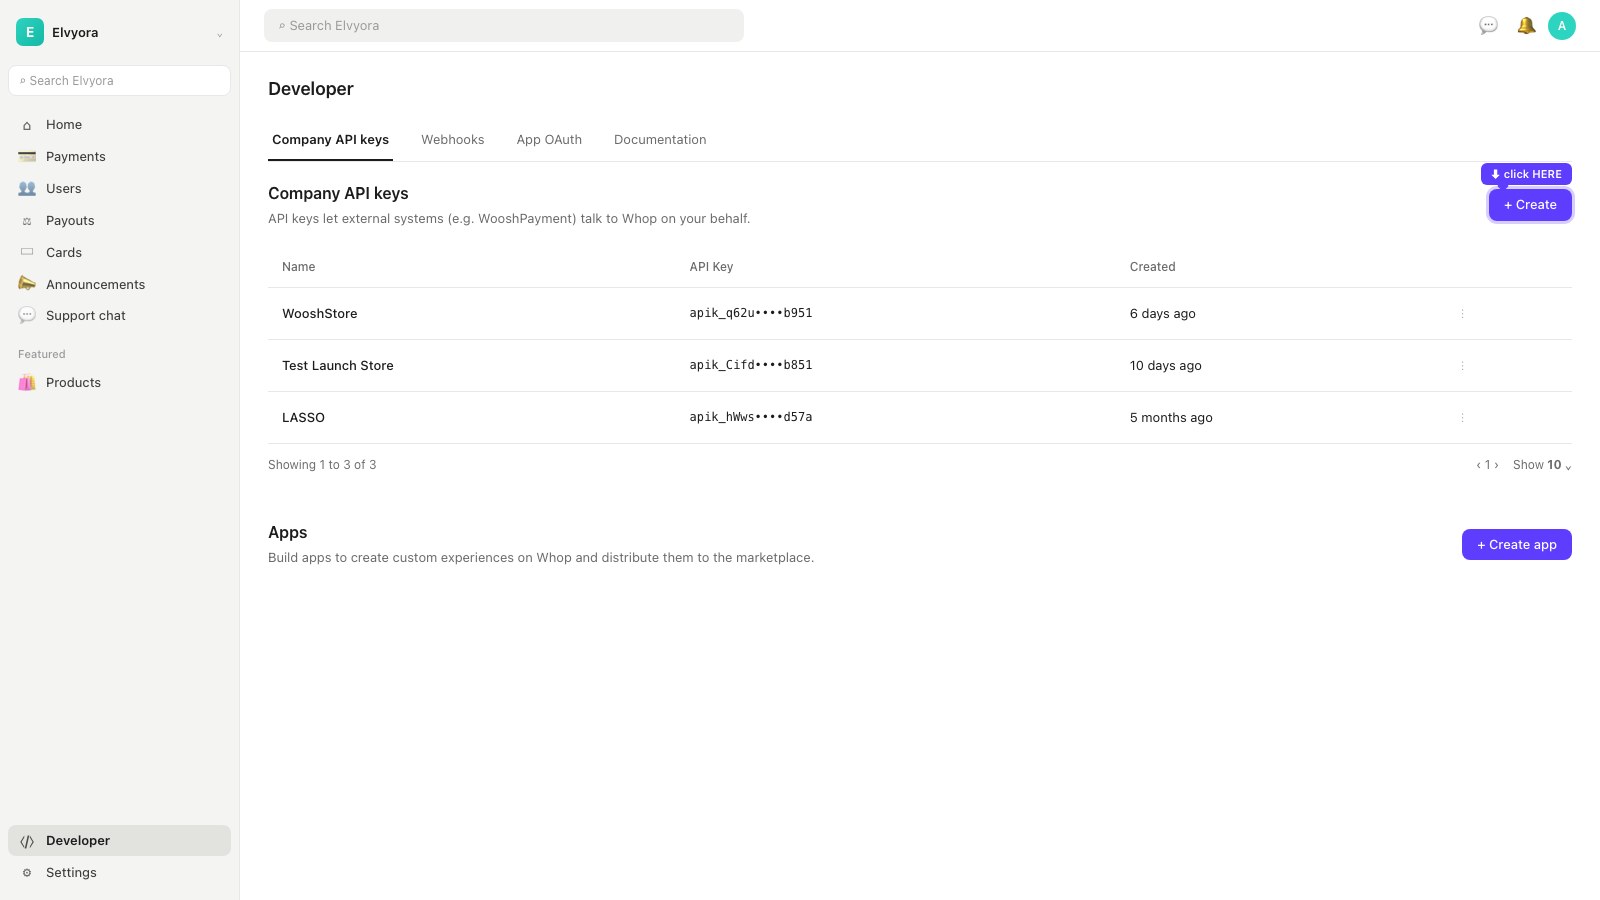
- The Company API keys tab is already active
- You'll see existing keys (empty if it's your first time)
- Top-right, click + Create
Always create a dedicated key for WooshPayment, even if you already have other keys. Labeling each key by the service that uses it makes rotation/revocation way easier without breaking other integrations.
3. Fill in the "Create API key" modal
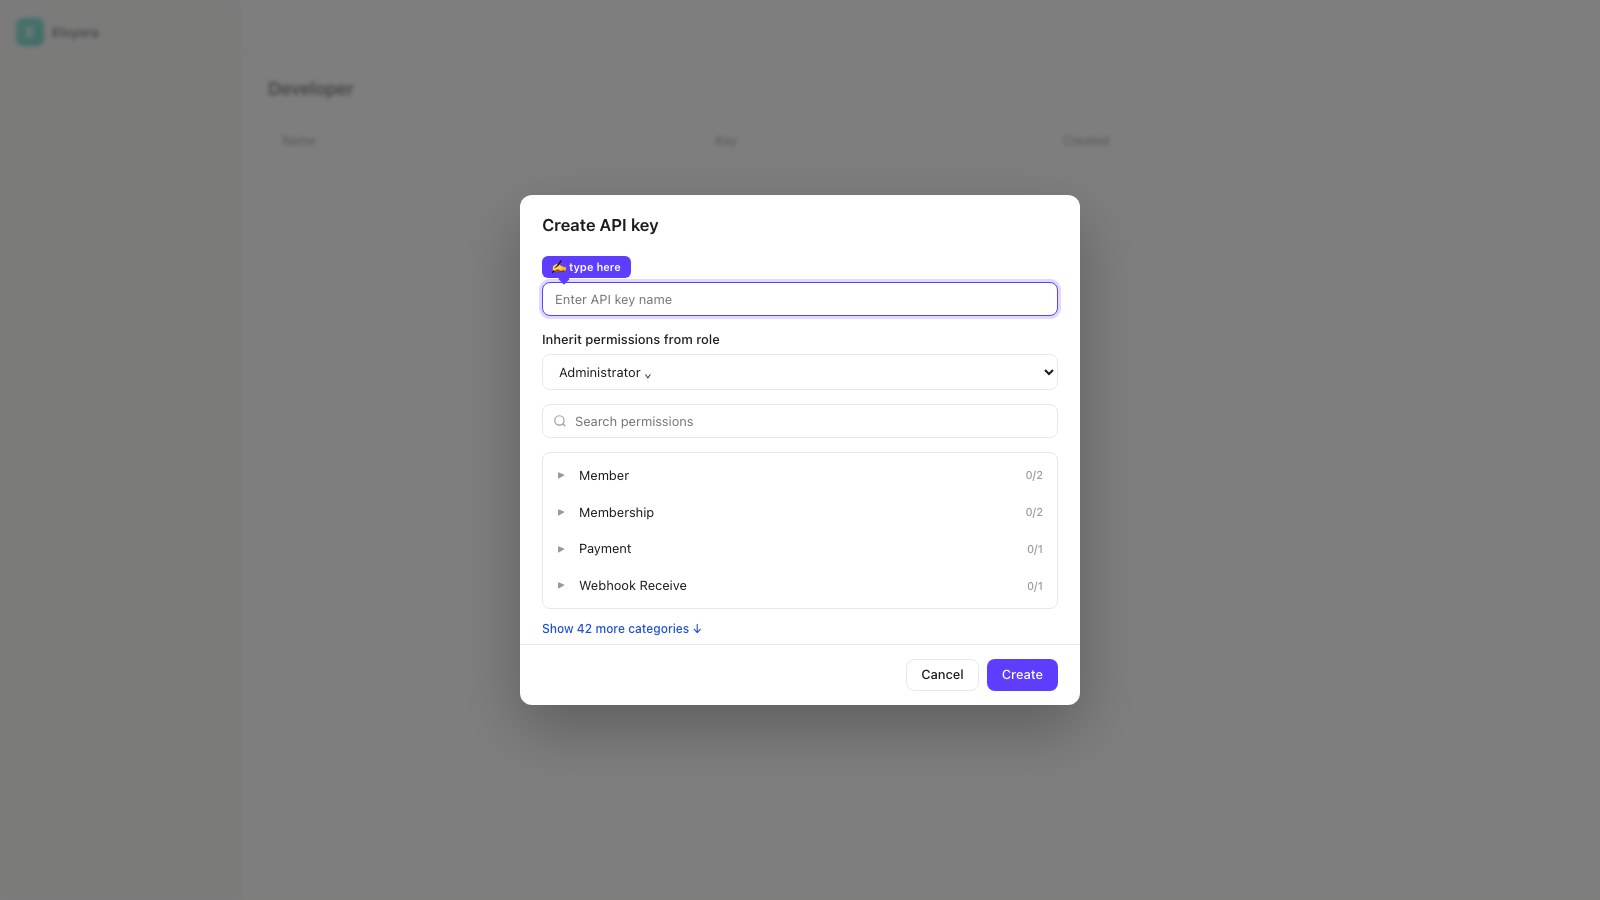
- Name: type something recognizable, e.g.
WooshPaymentormy-store- It's just an internal label on your Whop Company — your customers never see it
- Inherit permissions from role: leave it on
Administrator(default)- The Administrator role covers everything WooshPayment needs to process payments and read orders
- DON'T tick individual permissions in the list — the key already inherits everything from the role
- Click Create in the bottom-right
If WooshPayment returns 401 — does not have permission to access this route after connect, the key was generated with too low a role. Come back here, delete the key, and recreate it with Administrator or Owner.
4. Key created — click the eye to reveal
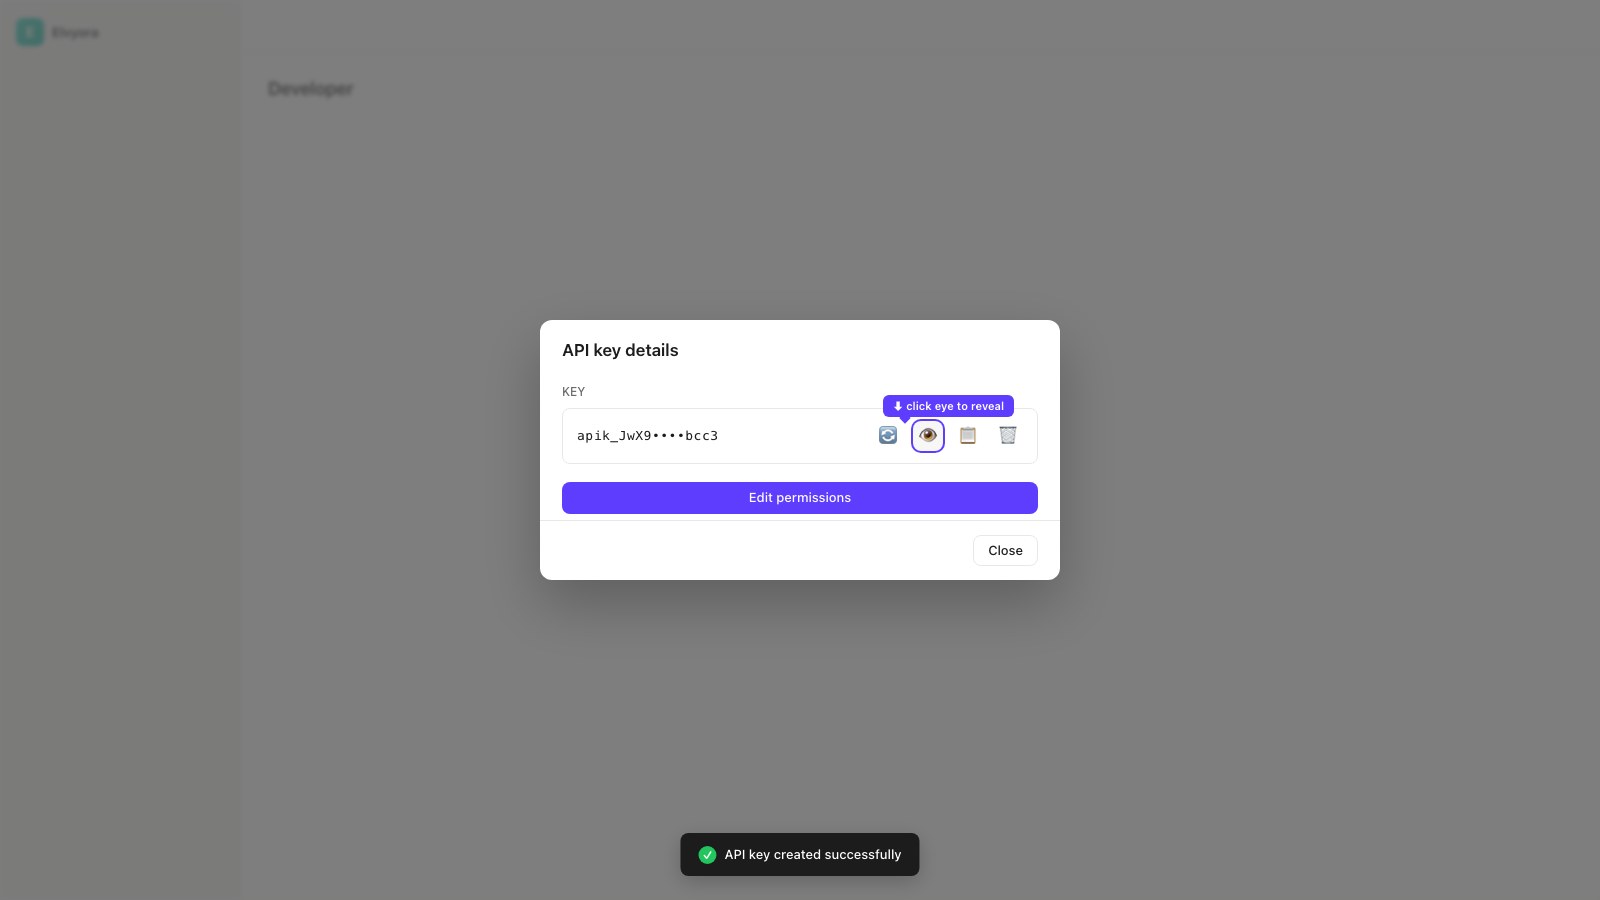
Whop opens the API key details modal. The key is shown masked (e.g. apik_JwX9••••bcc3) — that's a security default, but we need the full key.
- Click the eye icon 👁 to reveal the full key
5. Copy the full key
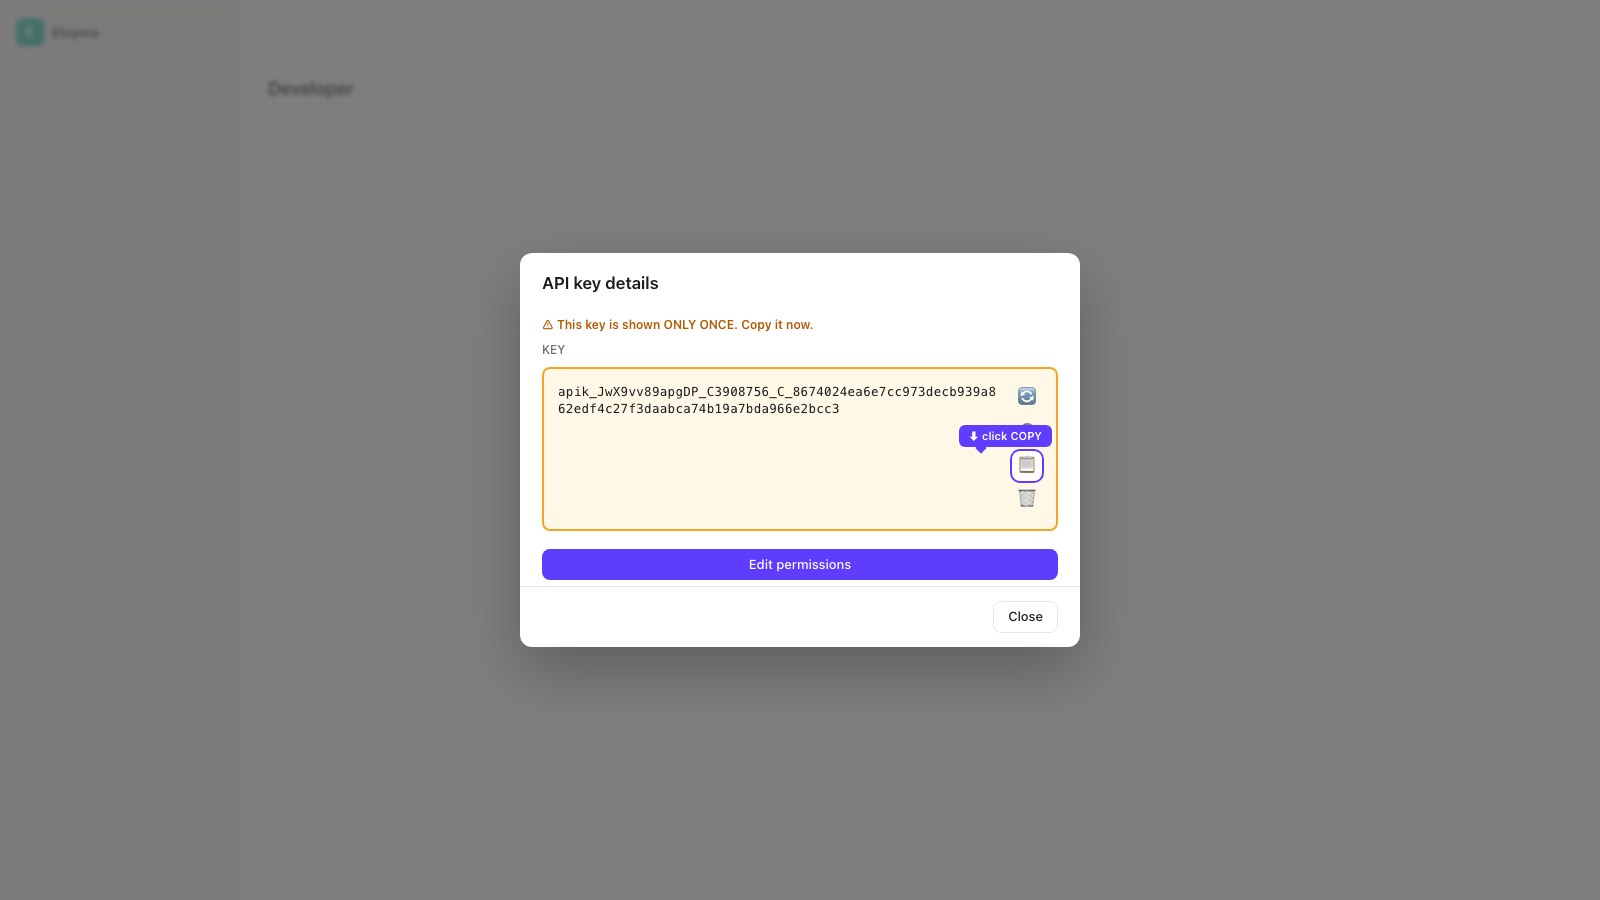
Now the key is shown in cleartext (apik_JwX9vv89apgDP_…). Click the Copy icon 📋 on the right.
The key is shown ONLY ONCE. If you close the modal without copying, you'll have to delete it and create a new one (the old key can't be revealed again). After pasting into WooshPayment, DON'T save it elsewhere — it's already encrypted AES-256-GCM in our DB.
6. Paste into WooshPayment → Integrations
Now jump back to WooshPayment:
- Go to Dashboard → Integrations (wooshpayment.com/dashboard/integrations)
- Find the Whop card in the "Main integration" section
- Paste the key (
apik_…) in the API Key input - Fill in the Product ID (see full Whop setup for how to grab
prod_xxxfrom the product URL) - Verify the webhook secret is present too: it is required to validate payment events and create store orders without delay
- Click Connect Whop
Response in ~1 second:
- ✅ Green state when Whop is ready: valid API key, Business ID read, Product ID saved and webhook secret present
- ⚠️ Amber state if the API key is valid but Product ID or webhook secret is missing: finish the card before traffic
- ❌ Red: see Troubleshooting
What the backend does behind the scenes
- Tests the key against
https://api.whop.com/v5/company(6s timeout) - Retrieves the
businessId(biz_xxx) and stores it in the DB - Validates that the Product ID belongs to the same Company
- Saves everything encrypted AES-256-GCM (
whopApiKey,whopBusinessId,whopAccessPassId, optionalwhopWebhookSecret,whopConnected=true) - For eligible wallets, a best-effort Apple Pay domain registration attempt may run, but treat wallet availability as ready only after verifying the domain and wallet behavior in your Whop dashboard/device by following Apple Pay
Troubleshooting
401 — does not have permission to access this route
The key was generated with too low a role. Go back to step 3, delete the current key, and create a new one with role Administrator (or Owner).
Invalid API key
- The key was copied wrong — check there are no spaces before/after
- The key starts with
apik_(notwhk_which is the webhook secret) - The Company that generated the key is still active (Whop hasn't suspended it)
Invalid Product ID
You entered a prod_xxx from a different Company. The biz_xxx in the product URL must match the Business ID shown in WooshPayment after connect.
Product price overrides the cart total
The Whop product was saved with a fixed recurring plan instead of One-time payment. WooshPayment can't override the price if the product has a fixed plan. Fix: go back to the Whop product → Edit → change the type to One-time → Save. No need to reconnect on WooshPayment.
I rotated the key and now nothing works
The old key stops working the moment you rotate. Go to Dashboard → Integrations → Whop → Disconnect → paste the new key → Connect Whop.
⚠️ REQUIRED step: the webhook signing secret (ws_)
Skip this and customers pay but orders never show up in Shopify (or in your dashboard). It's the #1 thing to get right.
Why it's needed: when a customer pays, Whop sends WooshPayment a signed notification using a secret from your account. WooshPayment verifies that signature before creating the order. Without the secret, the notification is rejected and the order isn't created in real time.
How to get it:
- Go to Whop → Developer → Webhooks: dash.whop.com/settings/developer/webhooks
- Find (or create) the endpoint pointing at
https://api.wooshpayment.com/webhooks/whop/payment-update - Make sure at least
payment.succeededandmembership.went_valid(ormembership.activated) events are enabled - Copy the Signing secret — it starts with
ws_ - Paste it into WooshPayment → Dashboard → Integrations → Whop, in the Webhook signing secret field, and save
Done: from then on Whop events can create store orders as soon as Whop confirms the payment and the webhook is accepted.
Connected before this update? You'll see a yellow "Add your webhook secret" box in Dashboard → Integrations → Whop. Meanwhile WooshPayment still auto-recovers orders periodically, but the webhook secret is required for the primary real-time order path.
FAQ
Can I use the same key for multiple stores?
Technically yes, but not recommended. Create a separate key for each WooshPayment store — that way if you want to disconnect one store, you can revoke just its key without touching the others.
Does the key expire?
No, it doesn't expire. It stays valid as long as:
- You don't manually delete it from Whop → Developer
- You don't remove the role from the user who created it
- Whop doesn't suspend your account for TOS violation
What's the difference between Administrator and Owner?
For WooshPayment, both work. The difference matters when you want to change billing settings, payouts, or Company members — those stay reserved for the Owner. For processing payments, Administrator is enough.
Next steps
- Full Whop setup (with Product creation) — if you still need to create the product
- Apple Pay — verify eligible wallet availability on your checkout domain
- Webhook spec — payload + HMAC security
- Onboarding wizard — coming back after connect and not sure what to do? pick up here